[hoops name=”Rooting Guides Are No Longer Maintained”]

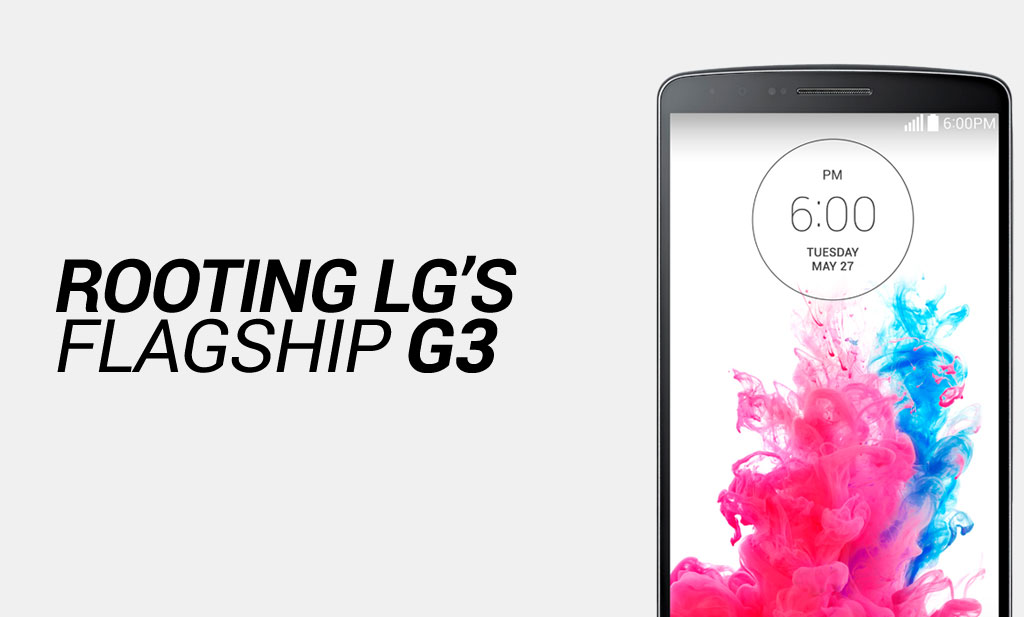
The LG G3 has just been released and already it is looking like one of the top Android phones to beat, with the Samsung Galaxy S5 and Google Nexus 5 also being heavy contenders. It should be an interesting battle. But if you do have a G3, you’ll want to get the most out of it. This guide will show you how to do so by rooting it.
Disclaimer: FlexiSPY is not responsible for rooting the Android device in any way, before performing any of these steps make sure you back up your Android device completely. Rooting is done entirely by you at your own risk.
What is needed to root the LG G3?
To root the LG G3 you will need the following.
- An LG G3 you want to root in your hand
- A PC.
Step 1 – Download the LG G3 root file to your PC
In order to root the LG G3 you must first download a root file to your computer which you will then copy to the LG G3 and run from your PC in later steps
You can download the LG G3 rooting file here
Save it to your computer in a safe place such as your desktop and extract the contents to a new folder which you will need later
Step 2 – Download the LG G3 USB drivers for your PC and install them
Before you can connect the LG G3 to your PC you first need to download and install the LG USB drivers for this phone which are available here.
Once you have downloaded and install the USB drivers you can proceed to the next step
Step 3 – Enable USB debugging on the LG G3
Now that you have installed the USB PC drivers successfully you need to enable USB debugging on the LG G3 itself.
The first thing you need to do is enable the USB debugging menu
You can do this using the following steps.
- Go to the Settings menu.
- Keep tapping the About Phone option.
- It will say ‘You are now a developer’ once you have tapped enough times and the USB debugging menu will now be accessible.
- Go to the Settings menu.
- Go to the Application menu.
- Go to the Development menu.
- Go to the USB Debugging menu.
- Make sure that the USB Debugging menu is enabled.
Now that you have installed the LG PC USB drivers and enabled USB Debugging on the LG G3 itself it is time to root the phone.
Step 4 – Root the LG G3
We now need to root the LG G3 which can be done using these steps.
- Make sure USB debugging is enabled on the LG G3 itself (see step 3).
- Connect the LG G3 to your PC using a USB cable.
- On your PC navigate to the folder you downloaded and extracted in step 1.
- Double-click the run.bat file to start the rooting process.
- Press any key when the window appears to start the rooting process.
- The LG G3 will reboot in to recovery mode automatically after some time.
- With the LG G3 in recovery mode go to the Apply update from ADB option and select it.
- Let this process complete. The LG G3 will restart itself automatically when finished.
- When the LG G3 reboots go to the Play Store.
- Search for the app titled SuperSU and install it
You can then use SuperSU to verify that the LG G3 has been successfully rooted.


Lascia un commento