


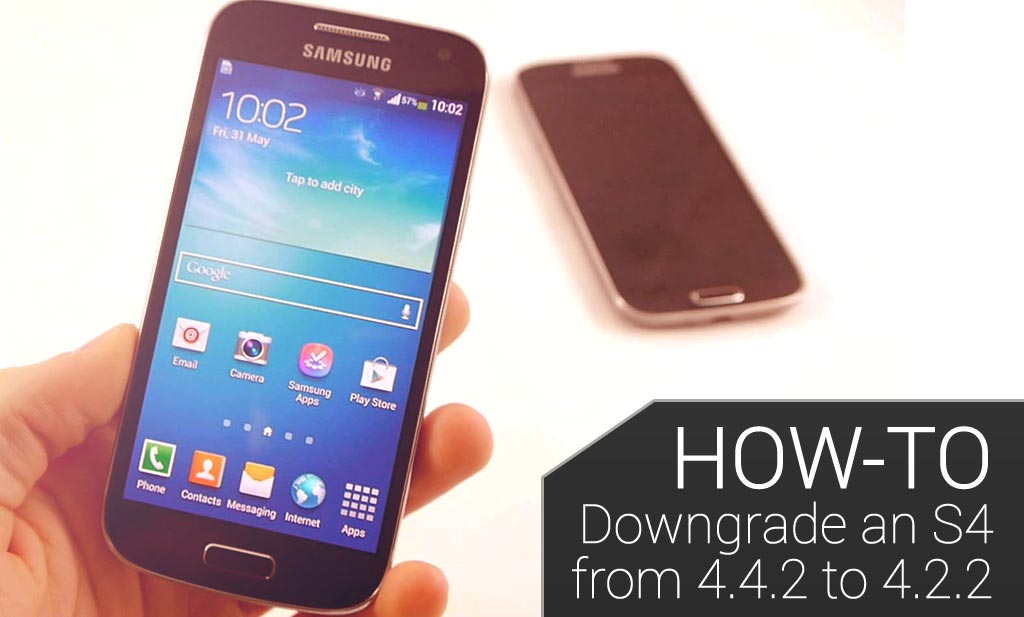
This article will show you how how to successfully downgrade a Samsung Galaxy S4 from OS 4.4.2 to 4.3
Disclaimer: Please understand that this guide is provided ‘as is’. FlexiSPY is not responsible for it or its contents and you perform the downgrade procedure entirely by yourself and at your own risk. FlexiSPY is not responsible in any way for any damages that may incur through following this guide and by reading past this notice you agree to the notice given above:
Our Samsung Galaxy S4 is model number GT-I9500.
These steps may not work on the GT-I9505 version of the Samsung Galaxy S4 and you perform them at your own risk.
Why Downgrade?
FlexiSPY is not yet fully compatible with OS 4.4.2 and so if your target device is running OS version 4.4.2 and you want FlexiSPY Extreme features such as spy call and call interception to function then you need to downgrade.
Not only that but downgrading may actually cause a performance increase due to the S4, which is getting on in years, not being able to fully run the latest Android OS version as well as something such as the Samsung Galaxy S5
Please note also that in certain geographical regions the S4 may not yet be able to run OS 4.4.2 and that depends entirely on the network providers and Samsung themselves.
What is needed to downgrade?
To downgrade the Samsung Galaxy S4 you will need the following
- The Samsung Galaxy S4 you wish to downgrade which is running OS 4.4.2
- A PC.
- The USB cable that cmae with the Samsung Galaxy S4
- The OS 4.2.2 firmware file for your S4 according to your country (see later)
- A backup of the EFS partition of the S$ (see later)
- The modem binary file of the S4 (see later)
- The rooting software for PC called Odin (see later)
Now that we have all the necessary equipment it’s time to get started!
Step 1 – Check the Android OS version is 4.4.2 on the Samsung Galaxy S4
On the phone itself go to Apps > Settings > More > About Device and the OS version will be listed. You can see our S4 is running Android version 4.4.2 in the screenshot below.

Step 2 – Backup the EFS partition of the S4
Basically, without getting too technical (we will discuss more about the EFS partition later) it is always safe to make sure you backup the phone first before you downgrade.The EFS partition is responsible for allowing the phone to have carrier functionality and make calls such as getting the network identified and IMEI number
Without this data the phone cannot function as a phone
To backup the EFS partition we will use a program called EFS Professional which is a PC program that allows us to backup the EFS partition to a computer to keep it safe
You can download EFS Professional from here.
On the Samsung Galaxy S4 go to the Play Store and download and install BusyBox as this is required for EFS Professional to work. You must have rooted the Samsung Galaxy first to install BusyBox and you can head on over to Spy Phone Review here for assistance with that.
Simply grant root access when asked and then tap Install to start the installation process.

With BusyBox installed and the Samsung Galaxy S4 rooted simply plug the S4 in to your PC using the USB cable it came with and run EFS Professional.
When you run EFS Professional it will perform checks on the S4 itself first to make sure USB debugging is enabled (to enable USB debugging, on the S4 itself go to Settings > More > About Device and continue to tap Build Number until the Developer Options option is shown. Once inside Settings > More > Developer Options make sure that USB debugging is checked.)
Simply tap OK on the S4 when asked.
Back on the PC if you run EFS Professional it will make sure the S4 is rooted and BusyBox is installed and it should look similar to this.

Tap the Backup tab.
Make sure EFS Professional looks like This Picture . You can see that All Partitions is selected but only the four partitions related to EFS are selected to be backed up, then Click Backup to start.
Once the backup process is complete disconnect the S4 from the PC and reconnect it again.
Using Windows Explorer browse to the SD card of the S4 and you will find the backup folder titled EFSProBackup.
Simply copy this folder to your PC and keep it in a safe place.

Step 3 – Download the Android 4.2.2 OS for your country and S4 version
The next thing that is required is to download the Android 4.2.1 ROM that we will flash to the S4 to downgrade it.
To do this we use the website here.
Click Firmware Database to be taken to the page below.

Under TYPE, OS, MODEL and COUNTRY select the values that match your S4
Click the 4.2.2 ROM you want to download
Make sure the details are correct for the S4 you are wanting to downgrade and then click the Download button

Once it has been downloaded extract it to your computer as shown in This Picture
Please note that the ROM files can be several gigabytes in size and downloading them may take some time.
Step 4 – Flash the 4.2.1 firmware on to the S4
You now need to flash the firmware that was downloaded on to the S4.
To do this you will need a program called Odin which you can download from here
You need to put the Samsung Galaxy S4 in to download mode which you do so by doing the following:
• Hold down the volume down, home and power buttons together
• Wait for the S4 to turn on and it should boot in to download mode

Now you have downloaded Odin connect the Samsung Galaxy S4 to your PC and Windows should download the drivers automatically.
Once you launch Odin, if all is successful and the S4 is in download mode, it should say Added! as shown in This Picture
You now click the AP button and browse to the firmware file you downloaded and extracted from the previous step.
Click the firmware file and click Open.
The firmware file will be checked and then added to Odin so it looks like the screen below. Due to the filesize of the ROM this can take some time.
When Odin looks like the screenshot below you are ready to flash the ROM file because the ROM file has been checked successfully by Odin.

All you need to do is click Start to flash the ROM.
Flashing the ROM can take up to 15 minutes and will take some time
DO NOT DISCONNECT THE S4 FROM THE PC OR TURN IT OFF IN ANY WAY
When the process is finished Odin will say PASS and the S4 will restart and boot in to the newly flashed ROM
Step 5 – Resolving any issues – unable to boot up
If the S4, after you flash the ROM, is stuck on the Samsung logo then do the following
• Hold down the Volume up, home and power buttons together.
• Wait for the S4 to display the S4 logo and then let go
It will now be in recovery mode which looks similar to this.

Using the Volume up and down keys scroll to Wipe data/factory reset and press the Power button to confirm
Scroll down to Yes and press the Power button on that to confirm.
The Samsung Galaxy S4 will then perform a factory reset.
When it is back on the screen shown above select Reboot and the S4 will restart and boot up – this may take some time when booting for the first time so please be patient
Step 6 – Resolving any issues – Loss of IMEI
If, after the phone has booted up you find that you no longer have a cell signal and that your IMEI number is incorrect – e.g. 004999010640000/01 (Settings > More > About Device > Status > IMEI) then you need to download the modem file from here, save it to your PC and extract it.

Put the Samsung Galaxy S4 in to download mode again and connect it to your PC and run Odin (see step 4 for more information).
It will look like This Picture once connected as we have seen before
Click the CP button and then point to the Modem binary file shown in the last screenshot

Odin should now look like This Picture . You can see the S4 has been added and the modem file is selected.
Click Start to flash the modem and wait.
DO NOT DISCONNECT THE S4 FROM THE PC OR TURN IT OFF IN ANY WAY
Once it has been done wait for the S4 to reboot and you should now have your working IMEI back and successfully downgraded the S4 from 4.4.2 to 4.2.2.
As ever this guide is provided as is so if you have any issues or questions about this simply let us know in the comments and we will do our best to assist you.
Deja un comentario