Sometimes it is great to install (flash) a custom ROM on to your Android device in order to tweak it for better performance or to utilise features of the handset that otherwise is off limits by the manufacturer or network provider.
But what makes people want to do this?
Popular custom ROMS have become a part of everyday life for Android users and an example of this would be Cyanogen who recently made installing their ROMs as simple as downloading an installer to your computer and connecting your phone.
Surely there are risks involved in modifying the phone software?
The days of being afraid to install custom ROMS for fear of damaging the phone are long gone as long as you take precautions. Taking precautions applies to many more things than just IT but it is always good to be safe and not sorry whatever the situation may be.
But there are times when you may need to install the ROM that the phone came with (known as the stock ROM).
- Applying a firmware update that you are not happy with
- You want to sell the phone
- You want to send it in for repair and want to return everything to factory settings.
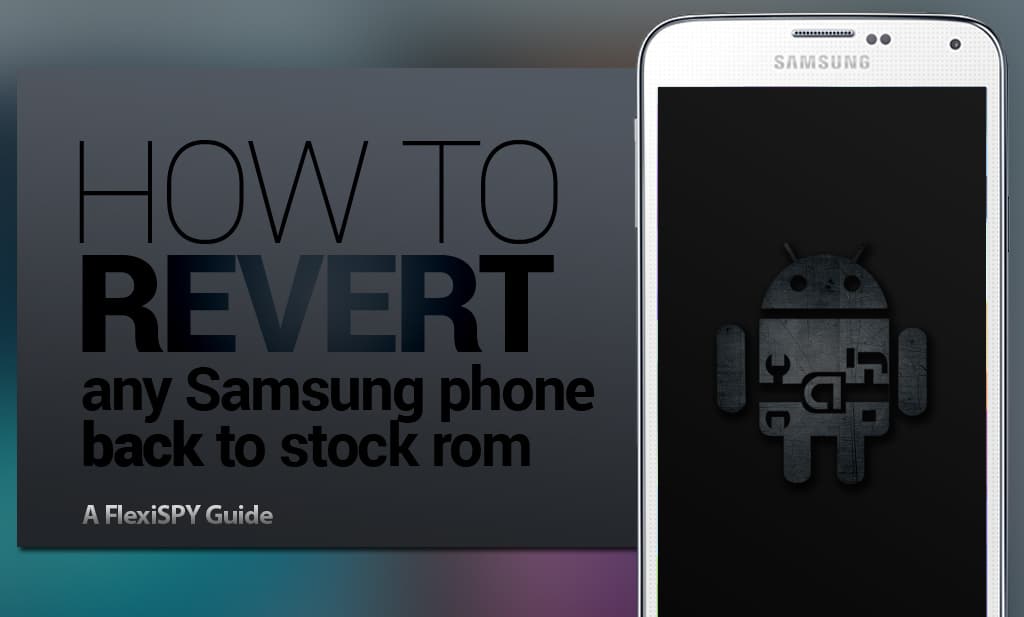
The thing to learn from this article is that there are times when factory reset is a necessity and that it is important to make sure the phone data is backed up also. The rest of this post discusses how to flash your Android device with a stock ROM, effectively restoring it to the ROM version that it came with when purchased.
Disclaimer: The information contained in this article is for research purposes only. In no way at all is FlexiSPY responsible for any misuse of your device through following the actions contained in this document. By reading forward of this notice you are agreeing that FlexiSPY is not responsible in any way for any actions that may result from following the instructions contained hereafter
Doing this involves three main tasks.
- Backing up any phone data you wish to keep
- Finding the correct stock ROM
- Flashing the phone with the stock ROM successfully
We recommend backing up the phone data to a secure location (such as in the cloud) or just to your computer using the likes of the EFS Professional which is available for free and provides a comprehensive suite of backup options to make sure that all your important data will not be lost.
In order to use EFS professional you must have first rooted the Android phone and also installed BusyBox on to it from the Play Store.
To backup the EFS partition we will use a program called EFS Professional which is a PC program that allows us to backup the EFS partition to a computer to keep it safe.
You can download EFS Professional from here.
On the Samsung Android phone go to the Play Store and download and install BusyBox as this is required for EFS Professional to work.
Simply grant root access when asked and then tap Install to start the installation process.

With BusyBox installed and the Samsung Android phone rooted simply plug the phone in to your PC using the USB cable it came with and run EFS Professional.
When you run EFS Professional it will perform checks on the phone itself first to make sure USB debugging is enabled (to enable USB debugging, on the phone itself go to Settings > More > About Device and continue to tap Build Number until the Developer Options option is shown. Once inside Settings > More > Developer Options make sure that USB debugging is checked.)
Simply tap OK on the phone when asked.

Back on the PC if you run EFS Professional it will make sure the phone is rooted and BusyBox is installed and it should look similar to this.

Tap the Backup tab.
Make sure EFS Professional looks like this. You can see that All Partitions is selected.

Click Backup to start.

Once the backup process is complete disconnect the phone from the PC and reconnect it again.
Using Windows Explorer browse to the SD card of the phone and you will find the backup folder titled EFSProBackup.
Simply copy this folder to your PC and keep it in a safe place.
Congratulations! You have successfully backed up the phone
So we have backed up the ROM now comes the fun part. This is the part that most people find difficult.
Finding the correct ROM to use is not as difficult as many would have you believe but it is not without risk.
If you pick the wrong ROM and flash (install) that to the phone then it can have dire consequences.
Luckily there are several websites available that help make finding the correct ROM as easy as possible. One such site that we recommend is SamMobile and their firmware section (http://www.sammobile.com/firmwares/).
Whilst on the above site click the Check Your Firmware link and fill in the information.

Once you have found the ROM for your particular phone version and country download it to your computer. You then need to download and install Odin on to your computer also as that is the software you are using to flash the phone.
If you have downloaded and extracted both Odin and the ROM to your computer you should have something that looks like this.

When you open Odin it will look like this.

As you can see from the message window no phone has been added yet. This is because, in order for Odin to see the phone you need to first of all put the phone in to download mode.
To do that you do the following.
- Turn the phone off completely
- Hold down the volume down key
- With the volume down key held, press the main button
- With the volume down key and main button held hold down the power button
This means you need to press all three keys at the same time in the order mentioned. You will know that you have done it properly when the following appears on the phone screen after it boots up.

Press the volume up button to continue and the phone screen will now look like this.

Connect the phone to your computer using a USB cable and now it will be seen by Odin.

If your phone is in download mode, connected to your compute but Odin does not see it then make sure you have installed Samsung Kies on to your computer first.
Without Samsung Kies installed (not open and running) the drivers for Windows to recognize the phone will not be installed and so Odin will not be able to see anything.
You can download Samsung Kies here – http://www.samsung.com/us/kies/
So far you should have done the following:
- Backed up the phone data you wish to keep to your computer
- Downloaded Odin and the ROM you are going to use for flashing
- Installed the Samsung phone drivers to your computer by installing Kies
- Put your phone in download mode
- Connected the phone to your computer via the USB cable
- Opened up Odin
If all has gone well it will look like the previous screenshot.
The final process of flashing the ROM to the phone is all that is left.
Click the AP button inside Odin.

You then browse to the firmware file. You will know if the file is correct because you will be able to see it inside the Windows Explorer menu and click on it.
It will also have the file extension MD5.

If you have downloaded the stock ROM but only see a zip file then it means you need to unzip the file first. Only after having done that will you get the correct MD5 file that Odin can then recognize and use.
Simply double-click the ROM MD5 file and it will be added to the AP section of Odin.
When you see Please wait… and the program says it is not responding (see screenshot below) do not be alarmed.
This is normal. Do not be alarmed, your phone is fine.
It just takes time for Odin to verify the firmware contents as it is such a large file.
During this time you must wait and it may look like the program is not responding but it actually is.
The ROM will be added to Odin once it has been checked.

Once you have done that click Start to begin.

Make sure the phone is not touched in any way or the USB cable disconnected from the computer or Odin closed whilst the flashing is in progress.
After a few minutes Odin will continue and the firmware file will be written to the phone.
You can tell this is in progress because, on the phone itself, a blue progress bar will be slowly going from left to right on the phone screen and in Odin you will also see a green progress bar.

When both Odin and that progress bar get to the end Odin will look like this.

Odin will also say Removed! because the phone restarts and so the USB connection is terminated and thus Odin sees the phone as having been removed. The phone will restart as normal and will boot in to the new OS for the first time – this will take some time.
Give the phone a few minutes and then, once it has booted up, it will now be running the stock ROM that you flashed to it.
You can then configure the phone as you did when you first bought it from the factory and it will be ready for use.
However if, after several minutes, the phone is still stuck on the Samsung logo or the phone may keep displaying the Samsung logo over and over and rebooting then read the steps below to resolve this.
But do not be alarmed, this is easily fixed.
To do this you need to boot the phone in to Recovery mode.
This is similar to how you got the phone to boot in to Download mode and involves holding down several buttons as the phone powers on.
- Remove the battery and reinsert it
- Hold down the volume up key
- With the volume up key held, press the main button
- With the volume up key and main button held hold down the power button
If you have done it properly the Samsung logo will appear as normal, wait two seconds and let go of all the keys.
If you have timed it properly the phone will boot in to Recovery mode and the phone screen will look like this.

You will also be presented with a menu with several options to choose from. To select an option use the volume up and down keys to move up and down and press the Power button to select the option.
What we need to do is delete the user cache and delete all factory data (it now makes sense why we backed up the phone first).
The recovery menu looks like this.

First, choose wipe data/factory reset and select it.
Scroll all the way down to Yes – delete all user data and select that.
The data will be wiped.
Second, choose wipe cache partition and select that.
The cache partition will be wiped.
If you have done it correctly, on the screen, in yellow text, it will say the following:
— Wiping data…
Formatting /data…
Formatting /cache…
Data wipe complete.
— Wiping cache…
Formatting /cache
Cache wipe complete.
With that done simply select reboot system now.
The system will reboot and it will be ready for use with the new firmware version that was flashed to it.
You can also verify the new ROM version by going to Settings > About Phone on the device and looking at the OS version to make sure it is correct.

ใส่ความเห็น